In the first article about Servlerless Authorizers I explained how to write custom authorizer for REST endpoint. This was when we wanted to develop user storage from scratch ourselves.
In this article I will show you that we can use something already provided by Amazon called Identity and Access Management (IAM) which is an Amazon way to manage users, credentials and authorization. Access to all AWS resources can be protected using IAM. It also allows integrating with external Identity Providers like Facebook, Google, Twitter, etc. This way we can develop signup and login features in our Serverless Reservation app easily.
IAM Authorizer
Serverless has already support for IAM and we do not need to write a custom authorizer for this. You can find many examples how to implement this on the web, e.g. here
Let’s see how it works.
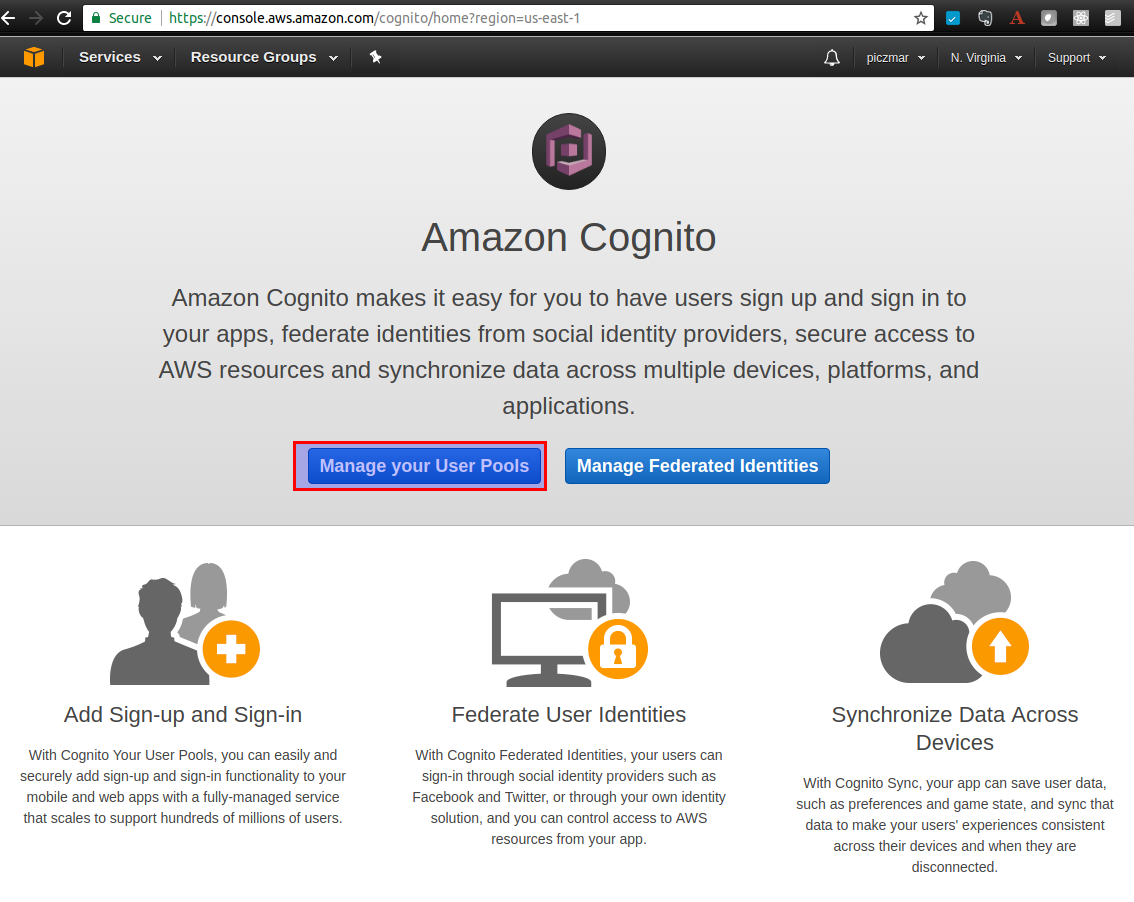
AWS Service which allows securing our app is called Cognito.
Having this we can create our own users’ directory on Amazon. When we release the app we should use the region which complies with local legacy policies regarding storing user sensitive data. In my case, it would be Frankfurt in EU as US policies are more liberal than EU in this context. For our demonstration purpose we put everything in us-east-1 region.
Create User Pool
Login to AWS console and navigate to Cognito service, then go to Manage your User Pools. Make sure you are in us-east-1 region.
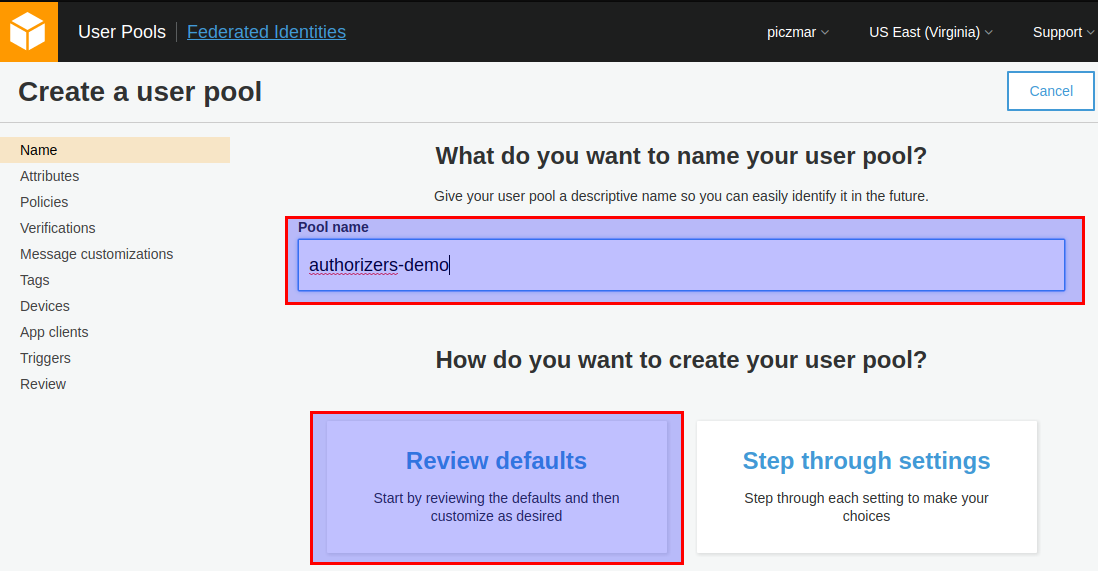
Then create a new pool called authorizers-demo.

Go to defaults.
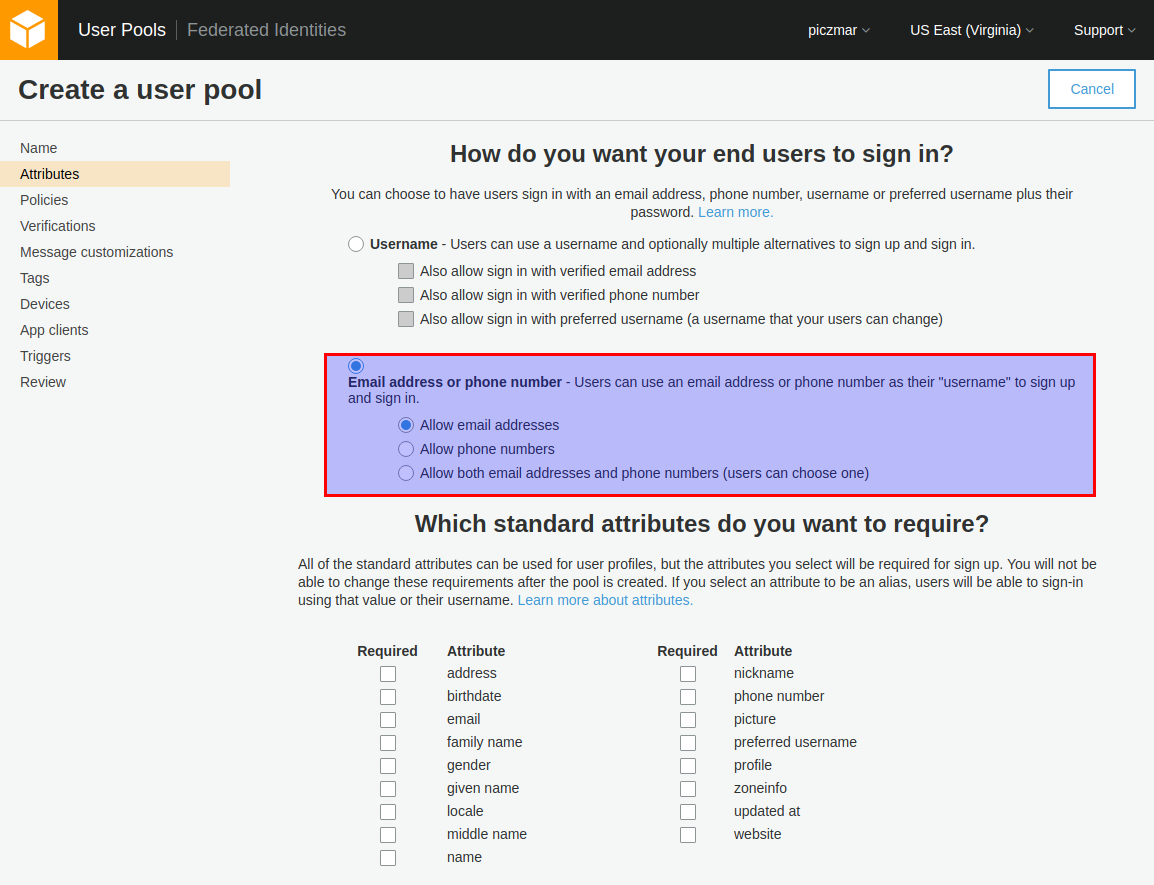
Select Choose username attributes…
Select Email address or phone numbers and Allow email addresses.
Our users will use their email as a username.
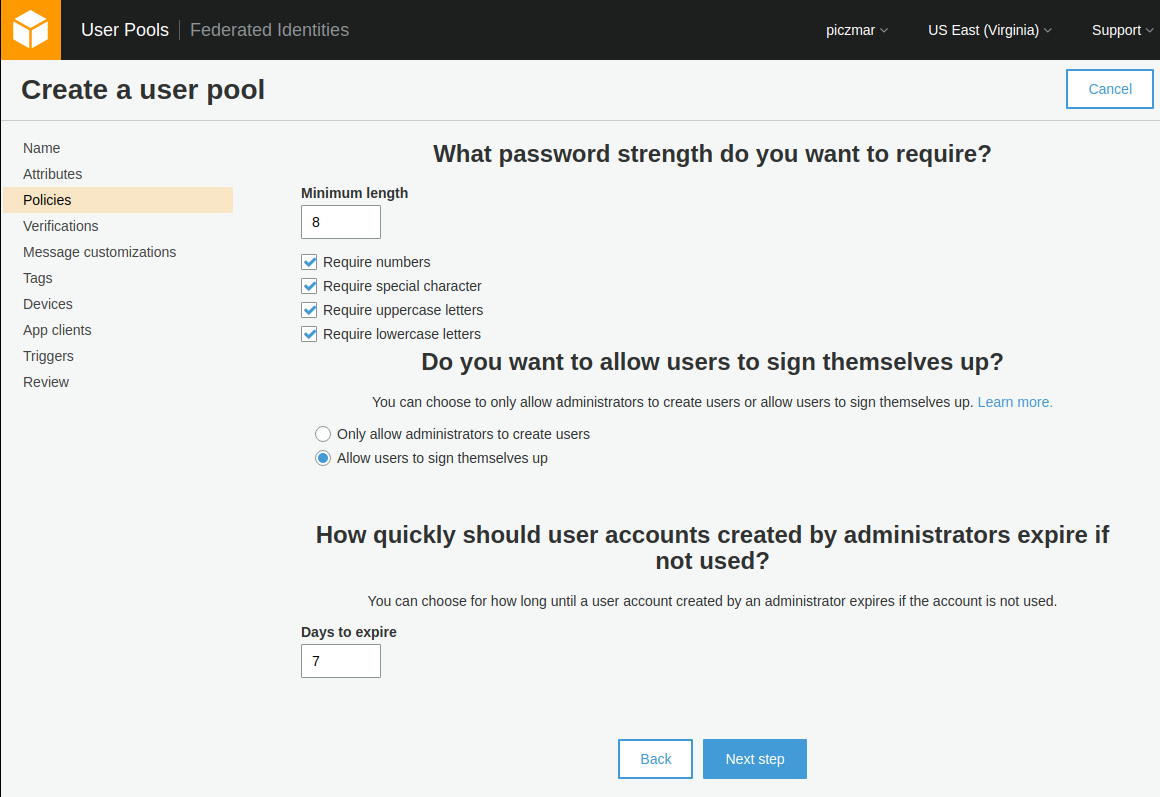
Then go to next step, leave default password policies or if you with you can change them to easier type passwords for testing purpose.
Now go to Review section and make sure that field Username attributes is set to email.
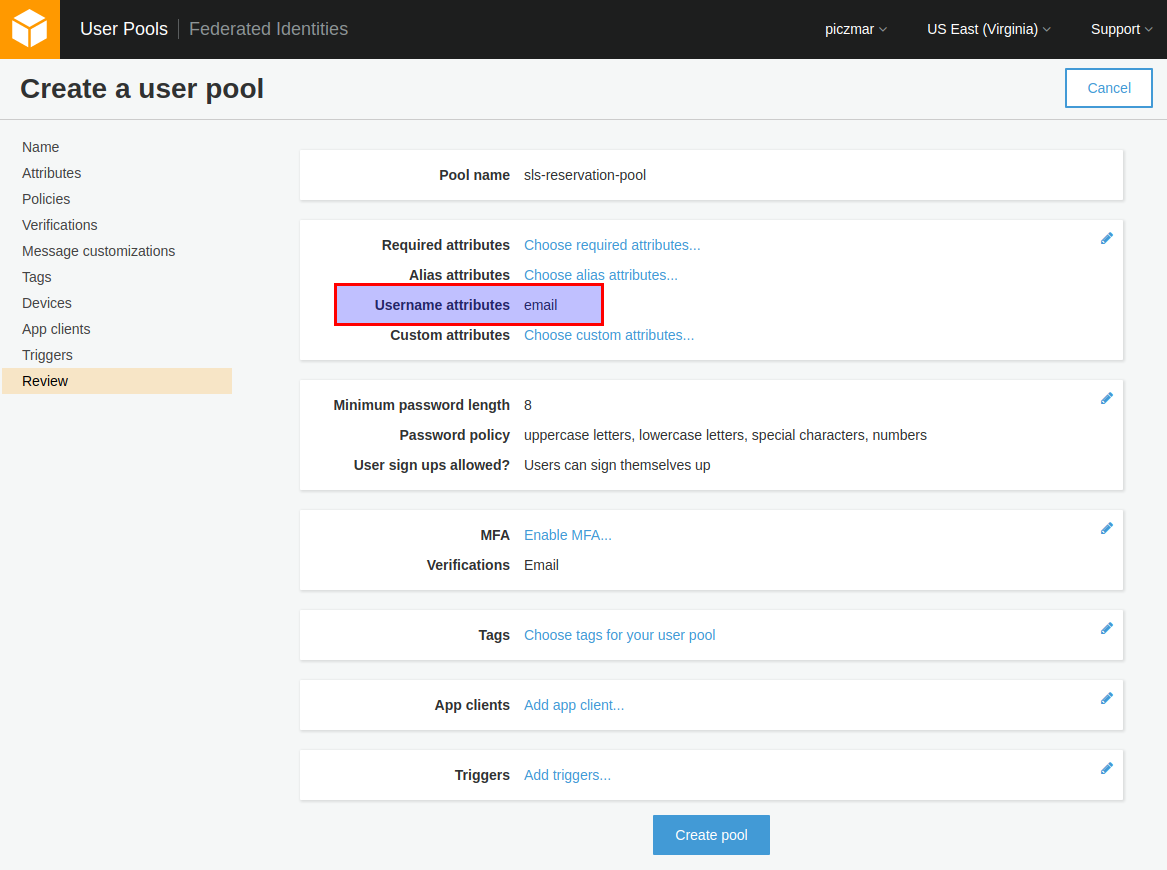
Click Create pool and we’re done.
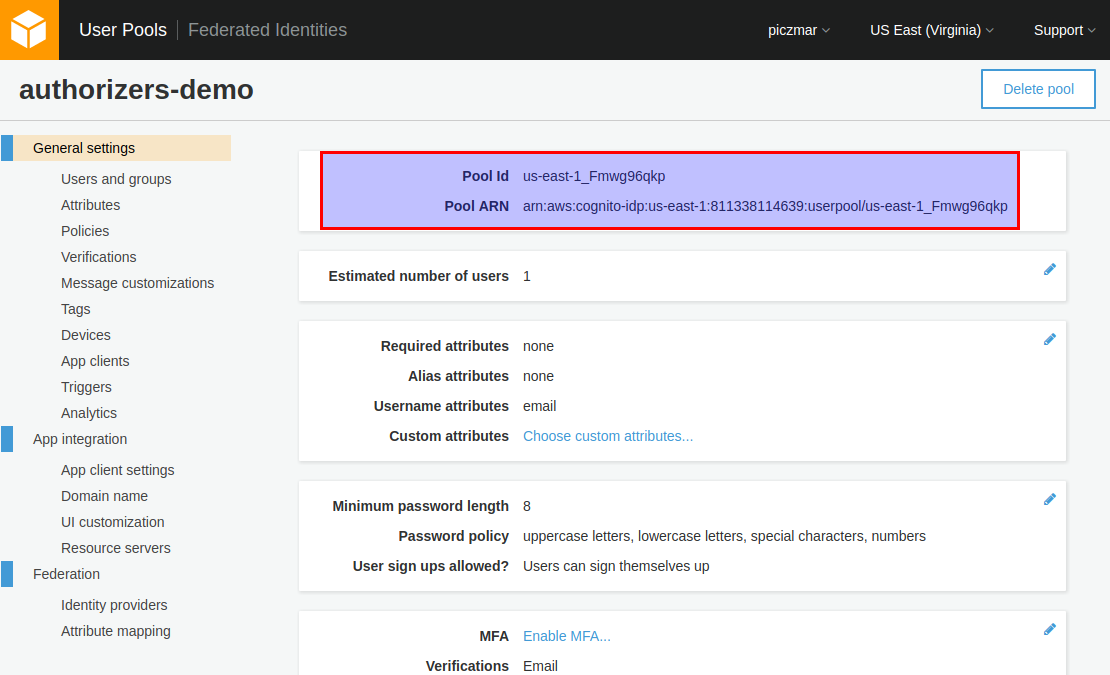
The summary page will show with Pool Id, we will need this later for configuration.
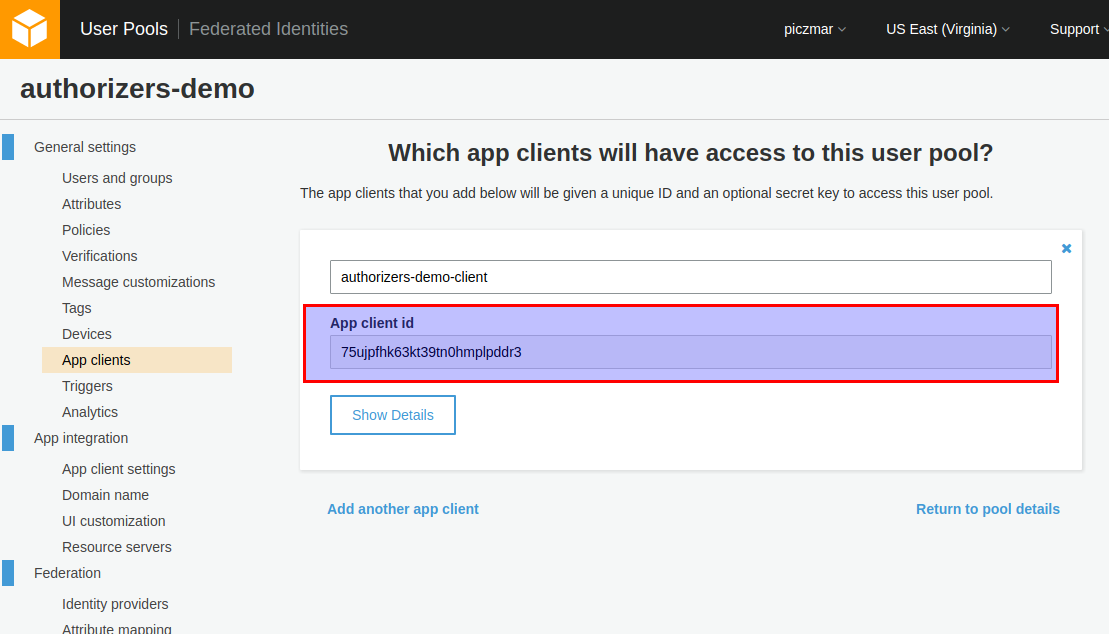
Create new App client
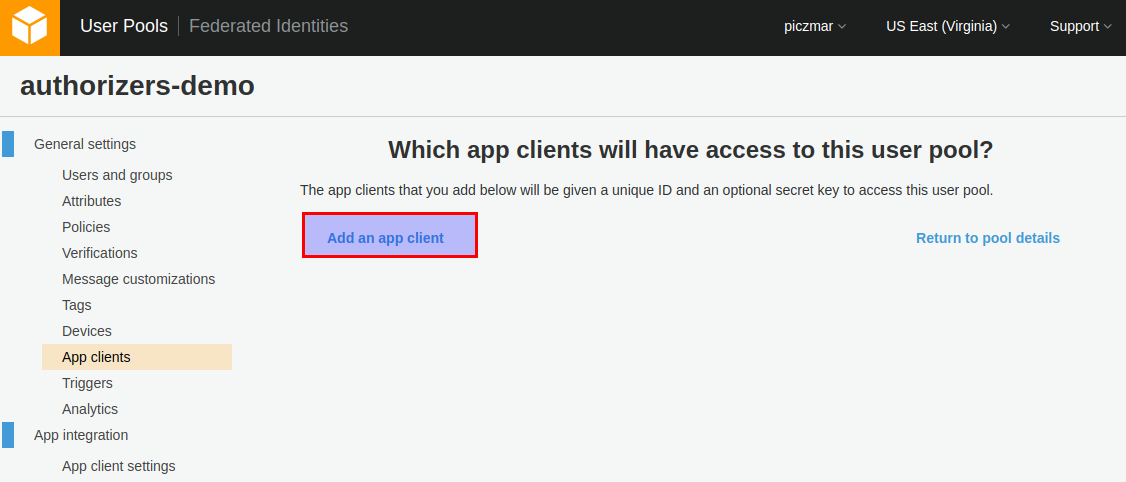
We also need to add a new app to the pool to be able to use it from our application.
Go to App clients and add a new client.
Uncheck Generate client secret and check Enable sign-in API for server-based authentication.
Amazon documentation says:
The Amazon Cognito JavaScript SDK does not use the app client secret. If you configure your user pool app client with an app client secret, the SDK will throw exceptions.
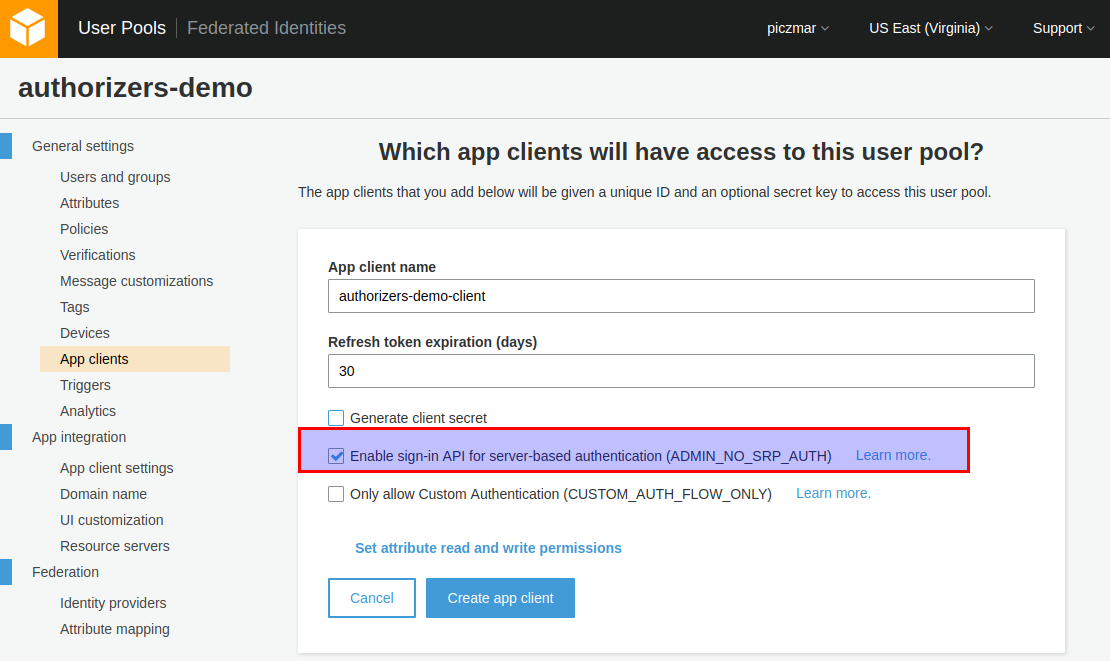
Click Create app client and note the App client id, we will need it later.
Create a Cognito user for test
At the moment we do not yet have any UI for our application so we need to somehow create any user for tests using command line. We can do this with AWS CLI like that:
aws cognito-idp sign-up \
  --region us-east-1 \
  --client-id YOUR_COGNITO_APP_CLIENT_ID \
  --username sls@test.com \
  --password Passw0rd!
Just replace YOUR_COGNITO_APP_CLIENT_ID with your own.
e.g.:
aws cognito-idp sign-up \
  --region us-east-1 \
  --client-id 75ujpfhk63kt39tn0hmplpddr3 \
  --username sls@test.com \
  --password Passw0rd!
You can now check AWS console for new user created.
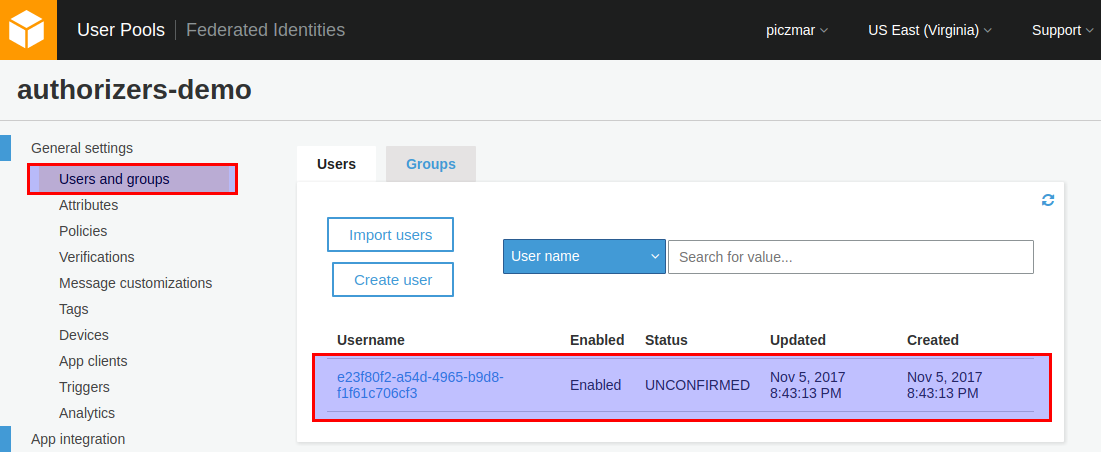
You see the user status is UNCONFIRMED. Before the user can authenticate with the User Pool, the account needs to be verified. We can do it with command:
aws cognito-idp admin-confirm-sign-up \
  --region us-east-1 \
  --user-pool-id YOUR_USER_POOL_ID \
  --username sls@test.com
Replace YOUR_USER_POOL_ID with your own.
e.g.:
aws cognito-idp admin-confirm-sign-up \
  --region us-east-1 \
  --user-pool-id us-east-1_Fmwg96qkp \
  --username sls@test.com
Now the user is CONFIRMED.
Add IAM secured REST endpoint
Let’s continue our app from the previous article and add another endpoint in our application: /hello/rest/iam.
In serverless.yml you should add new function like this:
functions:
  helloRestIam:
    handler: helloRestIam.handler
    events:
      - http:
          path: hello/rest/iam
          method: get
          authorizer: aws_iam
Deploy application
Execute command
sls deploy -v function -f helloRestIam
Note the API Gateway ID in endpoint url, e.g.:
https://28p4ur5tx8.execute-api.us-east-1.amazonaws.com/dev/hello/rest/iam
The API Gateway ID is 28p4ur5tx8. It will be needed in next step.
Create Cognito Identity Pool
Amazon Cognito Federated Identities enables developers to create unique identities for users and authenticate them with the identity provider. In our case identity provider is Cognito User Pool but it could be as well Facebook, Google or different custom provider.
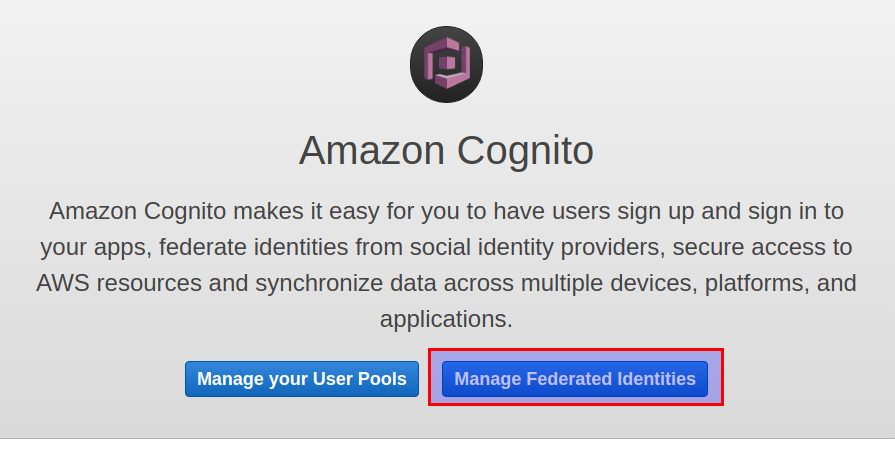
Go to Cognito service in AWS console and select Manage Federated Identities
Create new identity pool.
Enter identity pool name.
In Authentication providers section select Cognito and enter User Pool ID and App client id obtained earlier when creating User Pool.
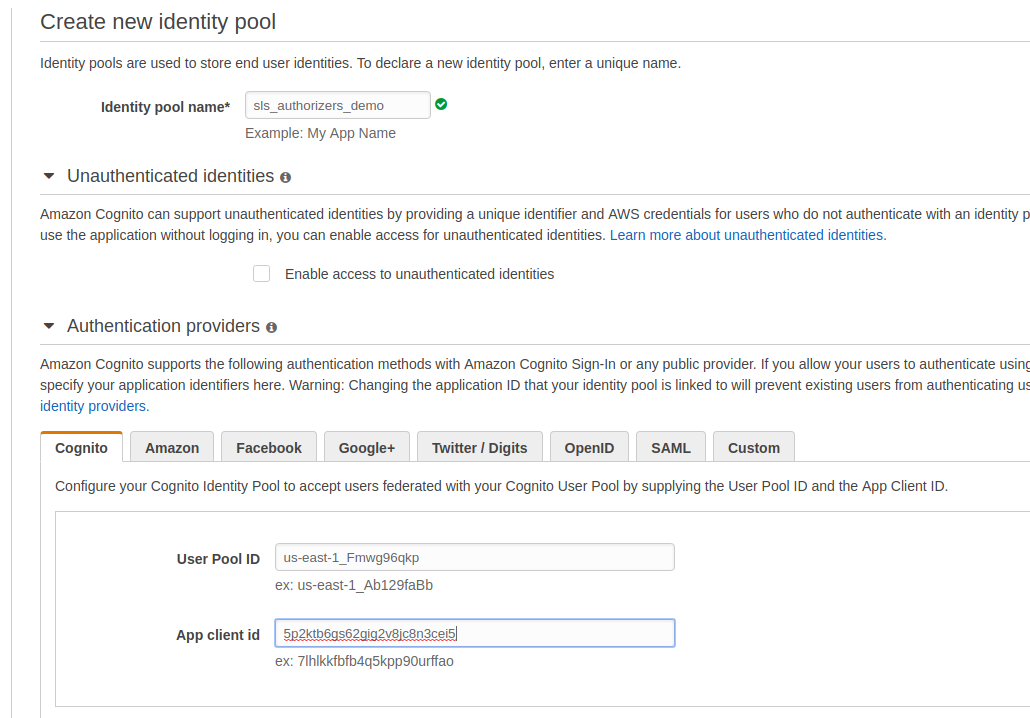
Submit the form.
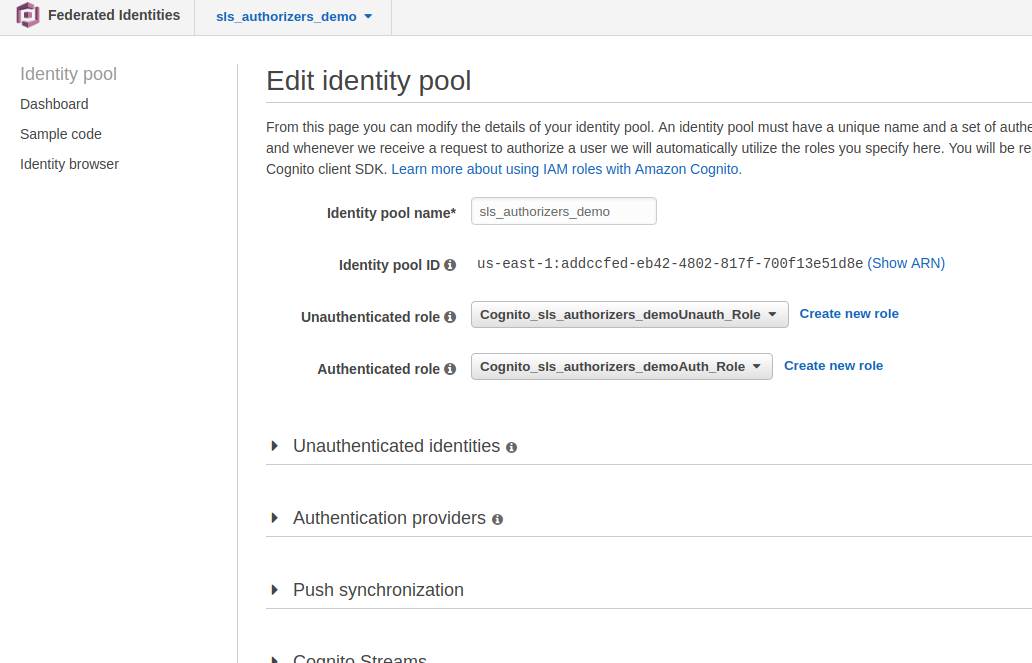
Go to View Details.
Two Role Summary sections are expanded. The top section summarizes the permission policy for authenticated users, and the bottom section summarizes that for unauthenticated users.
Select View Policy Document in the top section. Then select Edit and add the following policy document:
{
  "Version": "2012-10-17",
  "Statement": [
    {
      "Effect": "Allow",
      "Action": [
        "mobileanalytics:PutEvents",
        "cognito-sync:*",
        "cognito-identity:*"
      ],
      "Resource": [
        "*"
      ]
    },
    {
      "Effect": "Allow",
      "Action": [
        "execute-api:Invoke"
      ],
      "Resource": [
        "arn:aws:execute-api:YOUR_API_GATEWAY_REGION:*:YOUR_API_GATEWAY_ID/*"
      ]
    }
  ]
}
Replace YOUR_API_GATEWAY_REGION and YOUR_API_GATEWAY_ID with your values, in our case it’s YOUR_API_GATEWAY_REGION = us-east-1, YOUR_API_GATEWAY_ID = 28p4ur5tx8
Save identity pool.
Then edit identity pool and see Identity Pool Id (e.g. us-east-1:addccfed-eb42-4802-817f-700f13e51d8e), we will need it for API queries.
Call endpoint from client
Amazon Cognito authenticated requests needs a few steps:
- Authenticate against User Pool and acquire a user token.
- With the user token get temporary IAM credentials from our Identity Pool.
- Use the IAM credentials to sign our API request with Signature Version 4
This is a bit tricky if done manually. Fortunately, there is API Gateway SDK from Amazon which we can use to script the requests. There is even a test app ready to use. What we need to do is
npm install -g aws-api-gateway-cli-test
apig-test \
--username='sls@test.com' \
--password='Passw0rd!' \
--user-pool-id='us-east-1_Fmwg96qkp' \
--app-client-id='75ujpfhk63kt39tn0hmplpddr3' \
--cognito-region='us-east-1' \
--identity-pool-id='us-east-1:addccfed-eb42-4802-817f-700f13e51d8e' \
--invoke-url='https://28p4ur5tx8.execute-api.us-east-1.amazonaws.com/dev' \
--api-gateway-region='us-east-1' \
--path-template='/hello/restiam' \
--method='GET'
the response should be like:
{ status: 200,
  statusText: 'OK',
  data:
   { message: 'Hello IAM, authenticated user identity: us-east-1:cbc99154-7dab-41e1-8309-0a55d46d21a1 !',
     input:
      { resource: '/hello/restiam',
        path: '/hello/restiam',
        httpMethod: 'GET',
        headers: [Object],
        queryStringParameters: null,
        pathParameters: null,
        stageVariables: null,
        requestContext: [Object],
        body: null,
        isBase64Encoded: false } } }
Note how we access the user identity in the implementation of the function.
It is passed by IAM authorizer to function as event.requestContext.identity.cognitoIdentityId
The fill code can be found here.
Stay tuned for next articles in series of Serverless Authorizers.
You can easily find the series articles with hashtag #authorizer
comments powered by Disqus