
Amazon SES(Simple Email Services) is a service which allows you sending and receiving emails. I was particularly interested in receiving emails, processing them, extracting attachments and grouping them depending on a topic.
A simple use case is this one:
Every month I have to do an accounting and upload some invoices or bank transfer confirmations to the accounting system.
Nowadays I do it manually.
I have to go to my mailbox, download attachments, lookup invoices and map them to bank transfer confirmations for which I have set a standing order. Then I upload them to the accounting system with some description.
I really would like to automate this process as it takes me significant amount of time.
Amazon allows triggering the following actions when email arrives:
- saving email in S3 bucket
- trigger SNS notification
- calling Lambda function
- bounce email, returning it to the sender
- filtering emails based on origin IP address
- do nothing
What is the most important you can receive first 1000 emails for free and $0.10 for every 1,000 emails you receive after that, plus $0.09 for 1,000 email chunks. What are the chunks? Here is an explanation from Amazon:
An incoming mail chunk is 256 kilobytes (KB) of incoming data, including headers, message content (text and images), and attachments.

When you use Amazon SES to receive email, you pay $0.09 for every 1,000 incoming mail chunks. You only pay for complete incoming mail chunks. For example, if you receive 255KB of incoming email, you pay nothing. If you receive 768KB of incoming email, you pay for three incoming mail chunks ($0.27).
Here is the current pricing.
In the first part of this post we will create a simple application with Serverless Framework to demonstrate how we can process emails. In the second part we will configure SES for my email address to put all emails in S3 bucket.
Let’s start with the app. Complete source code is at GitHub.
It will have single S3 bucket to store emails content in and a lambda function which will be triggered when a new object appears in the bucket.
The function will then process the email content. I could imagine many other real use cases of such function, e.g.:
- processing customer emails and applying some AI algorithms for sentiment detection and then forwarding the negative ones to customer support
- processing CVs attached in emails
As part of this demo I will only print some email details like attachments, body and sender email address.
Our serverless.yml is very simple:
service: ses-email-processing

provider:
  name: aws
  runtime: nodejs6.10
  profile: sls
  stage: dev
  region: us-east-1
  environment:
    BUCKET: mails-cloudly.tech

  iamRoleStatements:
  - Effect: Allow
    Action:
    - s3:*
    Resource: "*"

functions:
  receiveEmail:
    handler: index.handler
    events:
    - s3: ${self:provider.environment.BUCKET}
We created an environment variable BUCKET which will be used to keep the name of emails S3 bucket.
We had to add permissions for Lambda to read from bucket (actually we granted all permissions which is not ideal for production code, but let’s keep it short and simple for now).
The Lambda function will looks as follows:
'use strict';

var AWS = require('aws-sdk');
var s3 = new AWS.S3();
var bucketName = process.env.BUCKET;
var simpleParser = require('mailparser').simpleParser;

module.exports.handler = function (event, context, callback) {

    var s3Object = event.Records[0].s3.object;

    // Retrieve the email from your bucket
    var req = {
        Bucket: bucketName,
        Key: s3Object.key
    };

    s3.getObject(req, function (err, data) {
        if (err) {
            console.log(err, err.stack);
            callback(err);
        } else {
            console.log("Raw email:\n" + data.Body);

            // Custom email processing goes here
            simpleParser(data.Body, (err, parsed) => {
                if (err) {
                    console.log(err, err.stack);
                    callback(err);
                } else {
                    console.log("date:", parsed.date);
                    console.log("subject:", parsed.subject);
                    console.log("body:", parsed.text);
                    console.log("from:", parsed.from.text);
                    console.log("attachments:", parsed.attachments);
                    callback(null, null);
                }
            });
        }
    });
};
We’re using AWS S3 API to read email content from bucket based on the key which arrived in the event and then using MailParser library to process the email. The demo function only prints some email attributes. We could extend it to extract attachments and put it in the other S3 bucket where I would keep all the accounting documents.
Now if we deploy the stack, CloudFormation will create for us the function and S3 bucket.
Till now we have an app but we do not have SES configured.
We need to put emails in the bucket and SES will do it for us. Here is how:
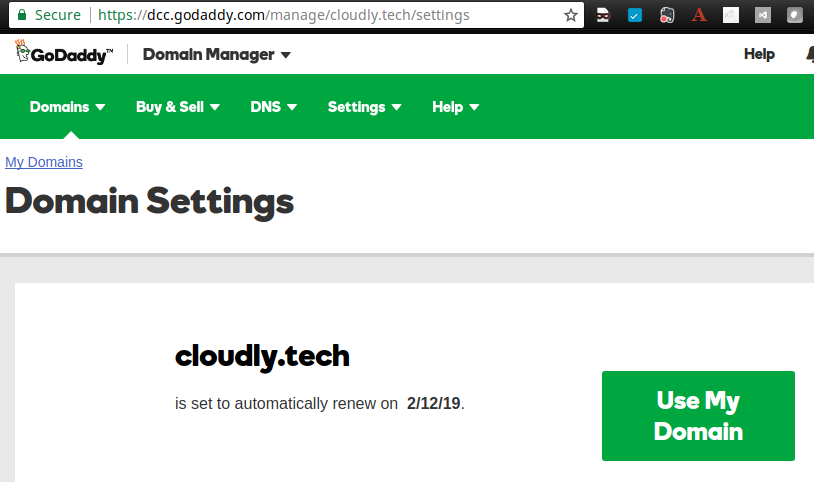
First, you need to have own domain and register it in SES. In my cases I had already domain from GoDaddy.
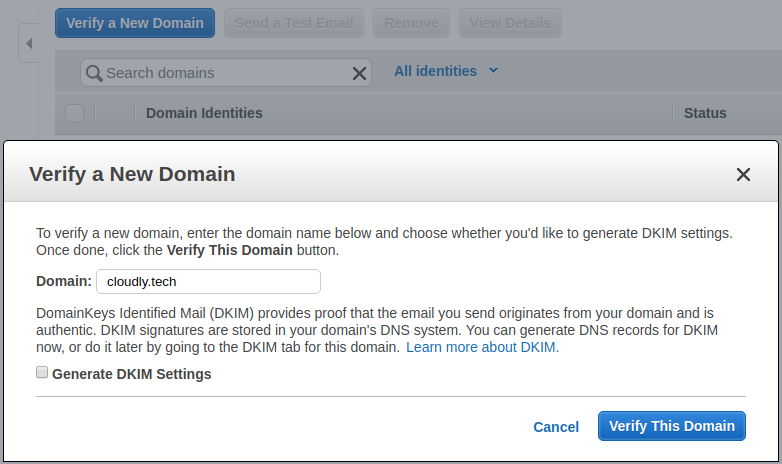
When you register your domain AWS will generate two TXT records to put in your DNS configuration. After you do it, AWS can verify that you are an owner of the domain.
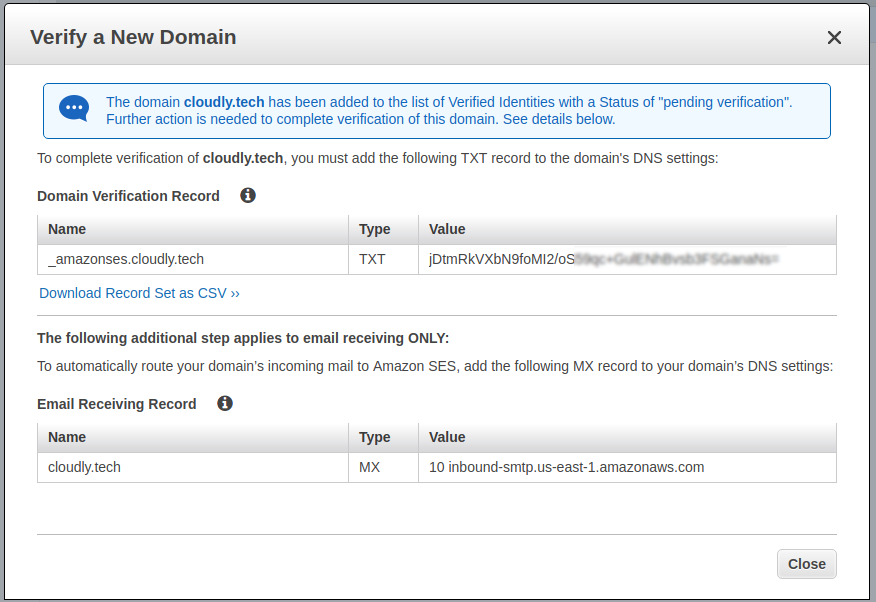
I had to copy it and go to GoDaddy settings for my domain.
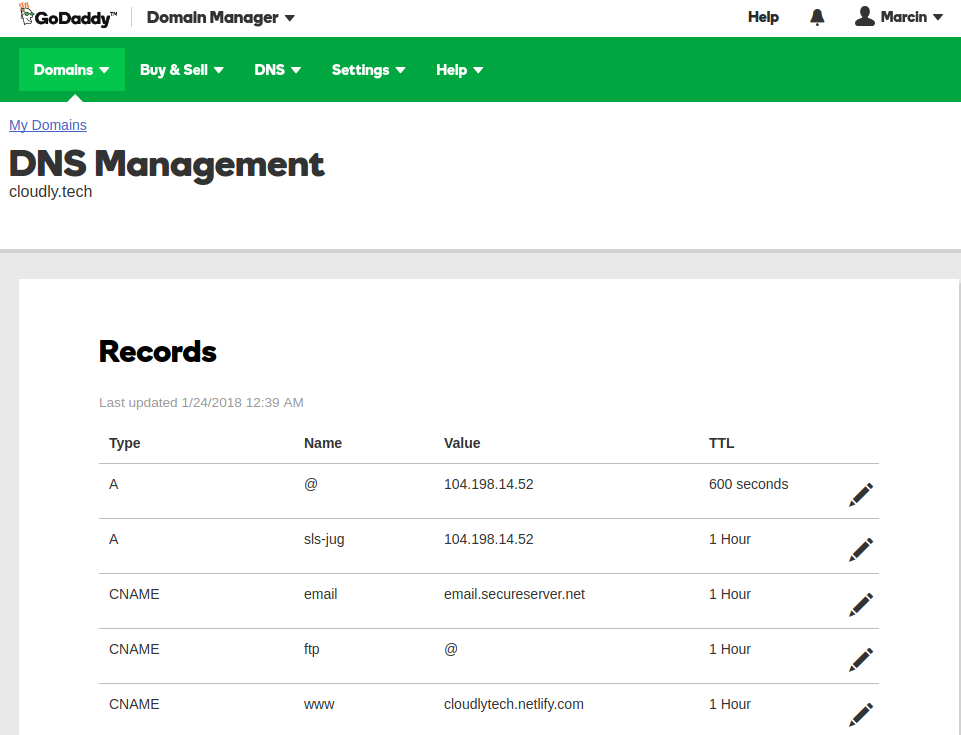
Then added these records.
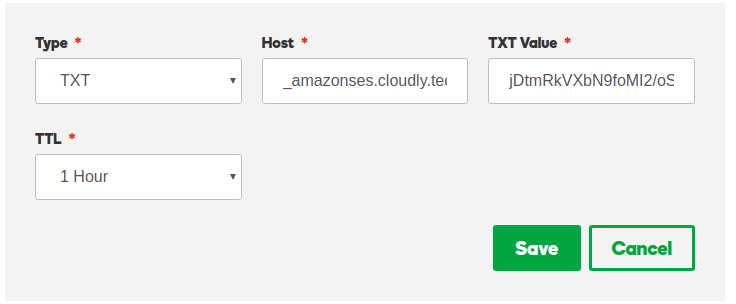
When I tried to add the setting for the first time, it printed error message.
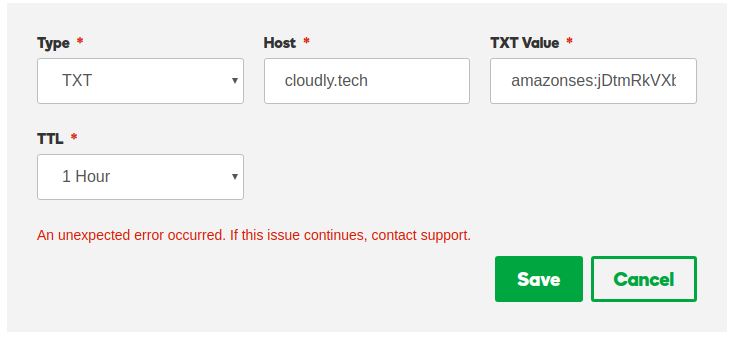
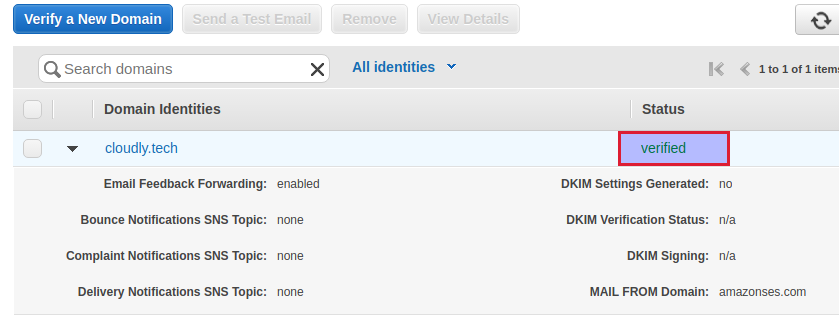
Then I clicked Add again and it printed new error saying that the property already exists. So it appeared that the setting was actually added for the first time and the error was not significant. I could see both records in the DNS settings list. When I refreshed SES page in AWS the domain was already verified.
The next thing we need to have is an email address. We can buy email address for our domain in GoDaddy too. The service costs around $4/month. To do so we have to go to our domain and click “Use My Domain” button
Then select “Setup” next to “Setup and email account” section.

Once we have an email we can verify it in SES.
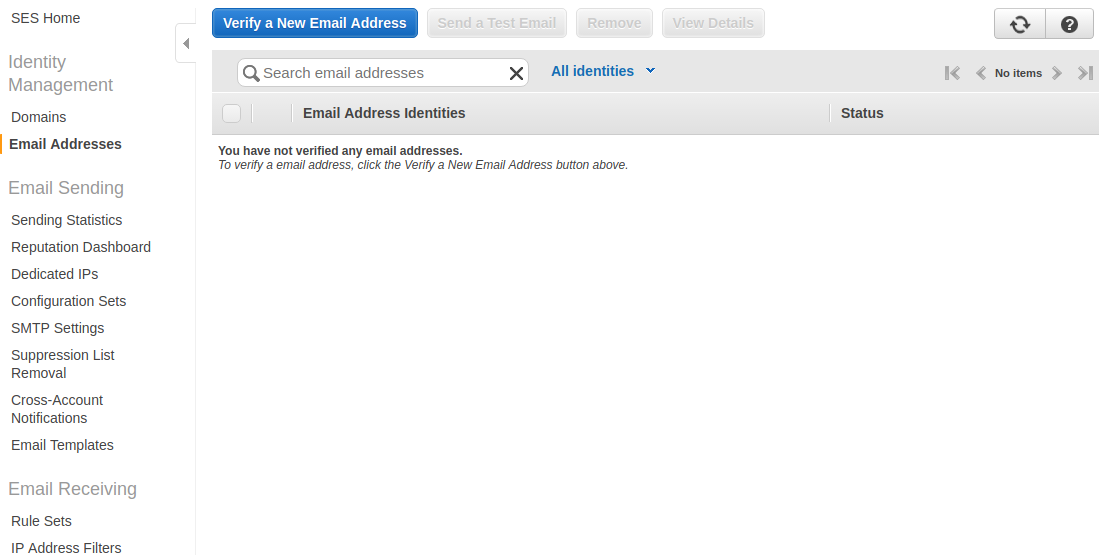
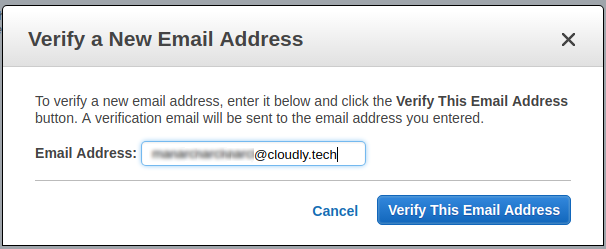
It will send an email to the added address.
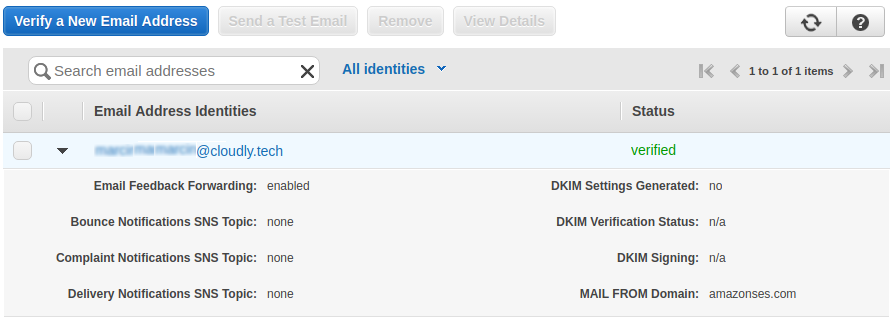
Next, I received an email to my new email account with a confirmation link. After I clicked the link and came back to SES, the email was verified.
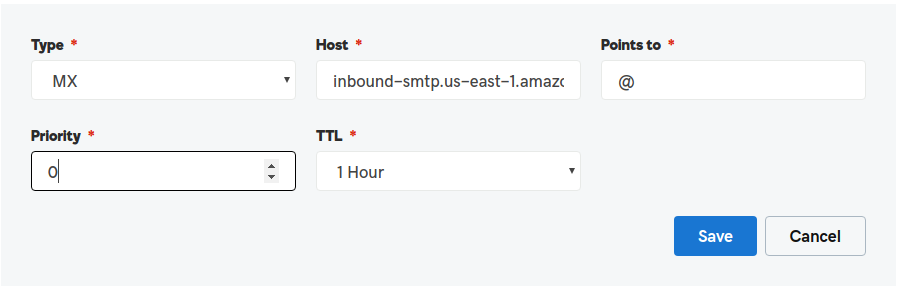
An email service provider used by GoDaddy needs to know how to forward emails to SES.
For this purpose you need to add a MX record in your DNS settings (similarly as we did for TXT records).
Here is a nice explanation how MX records work.
What is important when you add a new MX record instead of updating the old one, is to change the priority to lower than the priority of previous MX record. The record with lower priority will be used first to resolve where to deliver an email and only if this delivery fails the MX record with next priority number will be used.
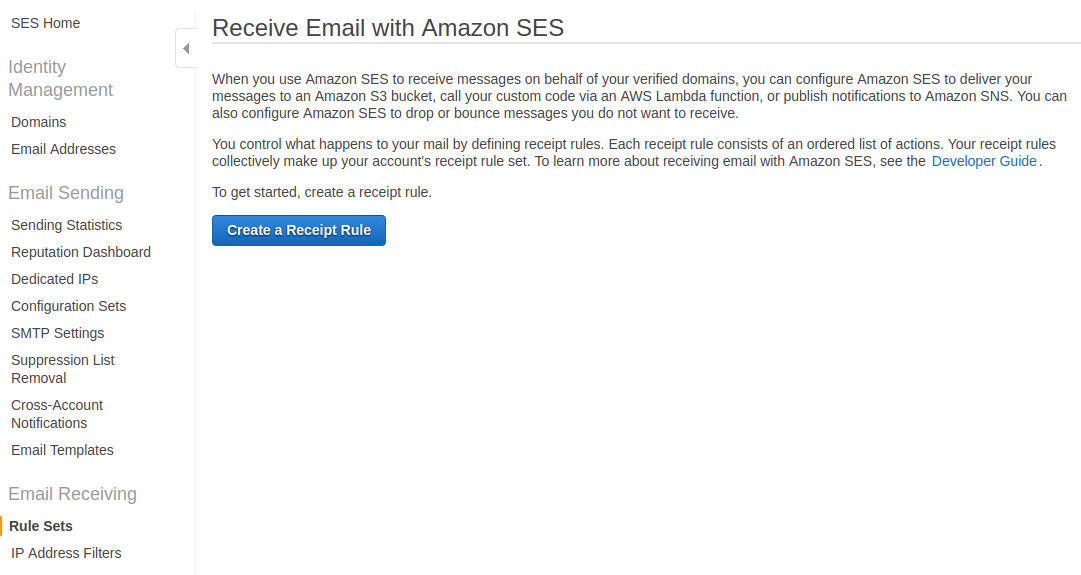
The last thing to do in SES configuration is to create a receipt rule to tell SES what to do with an email.
Optionally we can select which email addresses we want to handle - we will left it blank.
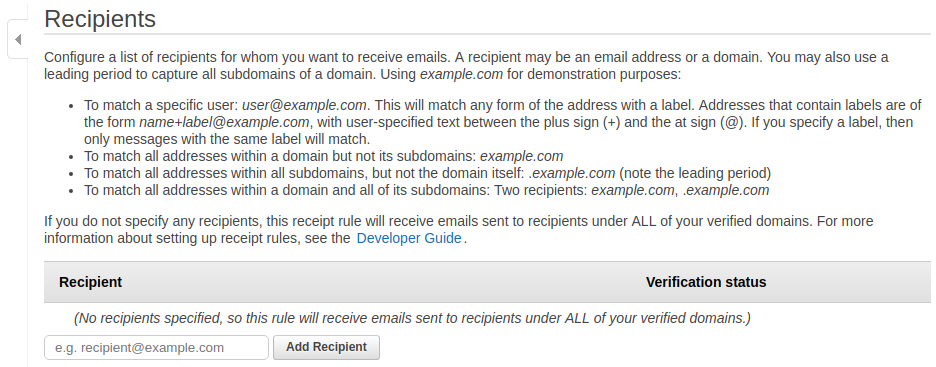
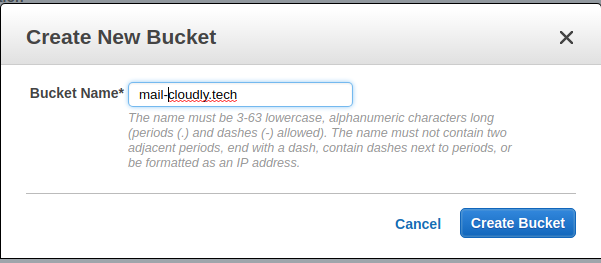
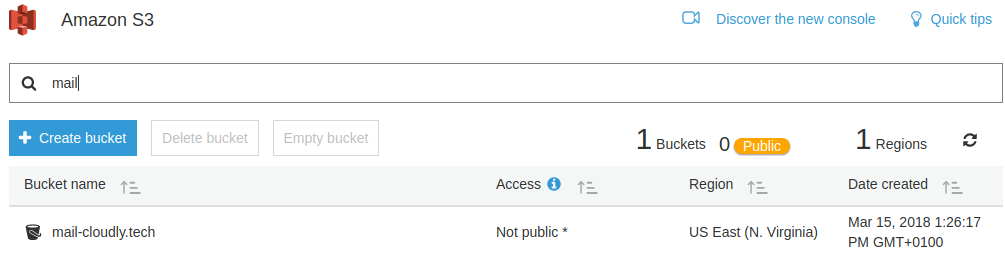
Then we will configure a new rule. We will choose to place incomming emails in S3 bucket. We will create a new bucket during rule creation.
If you used already existing S3 bucket instead of adding new from SES dashboard, you will need to add bucket policy, otherwise it was already generated for you and looks like
{
    "Version": "2012-10-17",
    "Statement": [
        {
            "Sid": "AllowSESPuts-1521116776786",
            "Effect": "Allow",
            "Principal": {
                "Service": "ses.amazonaws.com"
            },
            "Action": "s3:PutObject",
            "Resource": "arn:aws:s3:::mail-cloudly.tech/*",
            "Condition": {
                "StringEquals": {
                    "aws:Referer": "811338114639"
                }
            }
        }
    ]
}
See here for instruction.
So we have now our S3 bucket configured in SES.
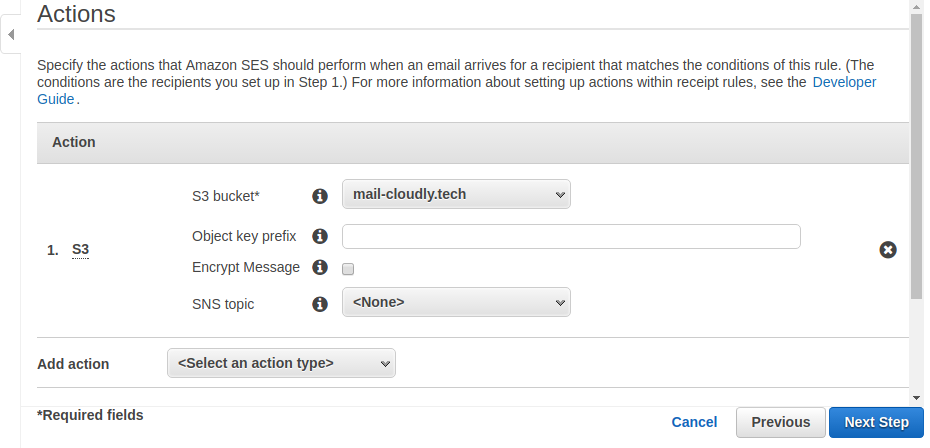
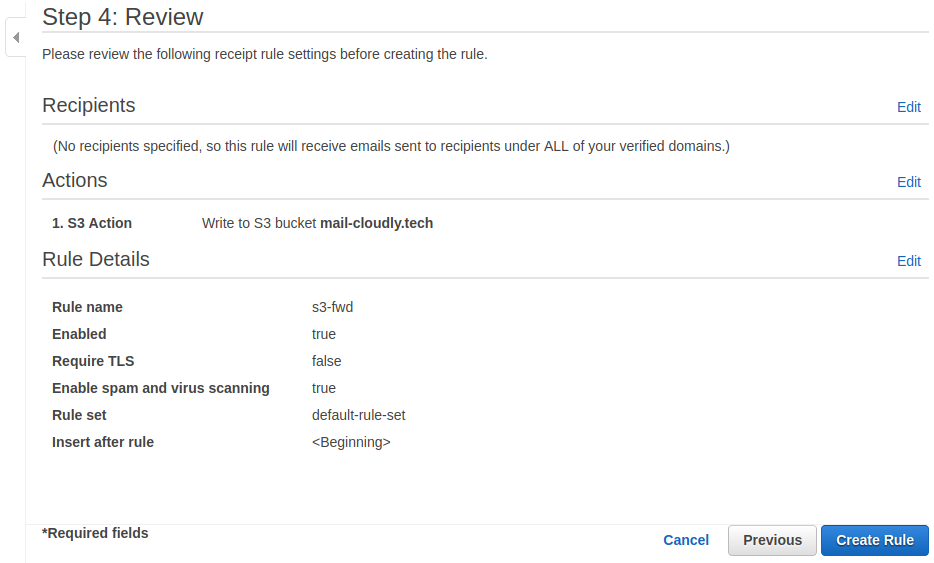
The next step after creating a bucket is to specify some more rule details. I left default ones.
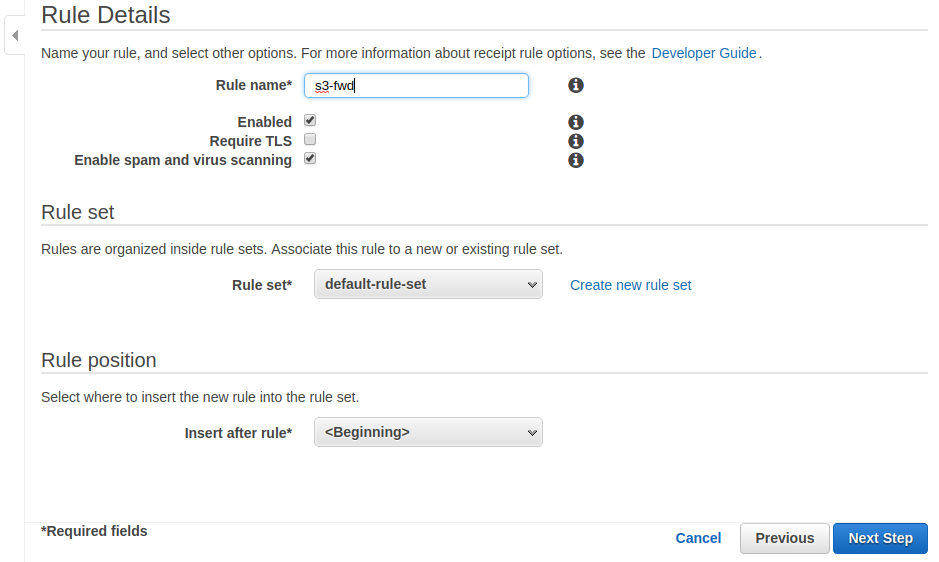
This is how it looks like at the end.
Let’s test what we have so far. If we send email to the address which we configured in SES and go to S3 bucket we should see a new item there.
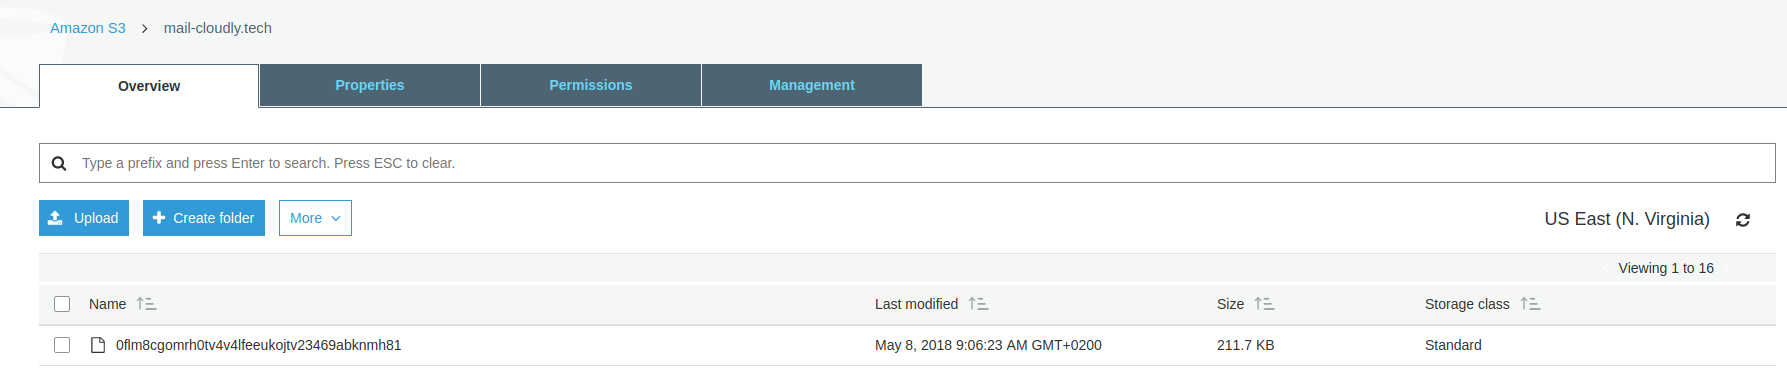
The file in S3 bucket has autogenerated name, but if download it and open in text editor we will see the conten of the email with all additional metadata like headers, attachments, etc.
If we check the logs from our lambda function we would see the email text, date, sender etc.
That’s it.
It’s a baseline to implement other features to automate my accounting.
What next?
Your emails stored in S3 may contain some sensitive content and maybe you’d prefer not to keep them in plain text. It is possible to encrypt them by SES using AWS KMS.
Resources:
- Amazon SES Email-Receiving Concepts
- MX records: AWS GoDaddy
- Receive and Process Incoming Email with Amazon SES